Loading a capacitor and visualization using Labview Data Acquisition
Data acquisition and signal acquisition consists in sampling the real world (analog system) to generate data that can be manipulated by a computer or other electronic (digital system). It consists in taking a set of physical signals, convert them into electrical voltages and digitize them so that they can be processed on a computer.
A stage of conditioning, which adapts the signal to levels compatible with the element that makes the transformation to digital signal is required. The element of this transformation is the scanning module or card Data Acquisition (DAQ).
The data acquisition process of the physical world involves the following key steps:
1. Using a sensor / transducer suitable for the variable you want
measuring, which can detect and convert the physical variable into an analog signal voltage or electric current.
2. Conditioning of the electrical signal: In this stage related problems are resolved obtained signal, such as noise, amplitude and / or signal strength, the nonlinearity of the same, among others.
3. Translation of the electrical signal to, own computer binary language: This process is technically known as analog / digital (A / D).
4. Storage of data in digital form, can be stored in the computer's memory and then displayed on the screen or in another peripheral thereof.
NI DAQ 6008
Our practice will be to acquire information that brings us load condenser and using Labview and DAQ thanks to visualize data in a chart with all that information. The DAQ that will use the National Instruments NI 6008.
The National Instruments USB-6008 is a low-cost, multifunction data acquisition device (DAQ). When one or more channels on each port is Set to Either input or output, the port is locked into That Particular mode.
The DAQ 6008 has the following characteristics:
• 8 analog inputs (12 bit, 10 kS / s)
• Static 2 analog outputs (12 bits); 12 E / digital S; 32-bit counter
• Powered by the bus for mobility, integrated signal connectivity
• The OEM version is available
• Compatible with LabVIEW, LabWindows ™ / CVI and Measurement Studio for Visual Studio .NET

NI 6008

NI 6008 inputs/outputs
Connection types
Another thing to keep in mind to develop this practice is that connection must be used to connect the signal source to the input corresponding card.
Generally there are three ways to apply signals to a data acquisition card:
- Differential mode
- RSE mode: referenced single-ended
- NRSE mode: single-ended nonreferenced
For this practice will use the RSE (referenced single-ended) mode and has the characteristic that all input signals are referenced to the common ground reference (GND) and the reference signal and the card they are the same.
The RSE type is the least recommended unless:
- The voltage level is high (> 1V)
- The cable length is short (> 30 cm) and are shielded
- Low noise environment
- The signals applied are all referring to ground (GND)

Calculations of the capacitor charge
These are the calculations we have done to find our capacitor and load time.Value of capacitor chosen 455.1 micro farad
Tau = RC
2,175 K ohm resistor.
t = 5 RC
t = 5 x 2.175 x 455.1 = 4,949 seconds. This will be the loading time of our capacitor.
The transistor chosen is a BD 139

We designed a scheme capacitor discharge

Plate capacitor charge with Proteus
Then we will, by Proteus, a plaque on the need to place our capacitor also will place the transistor, relay and resistance to perform the charging of the capacitor.

Schematic capture of Proteus

Layout view

3D view

3D view
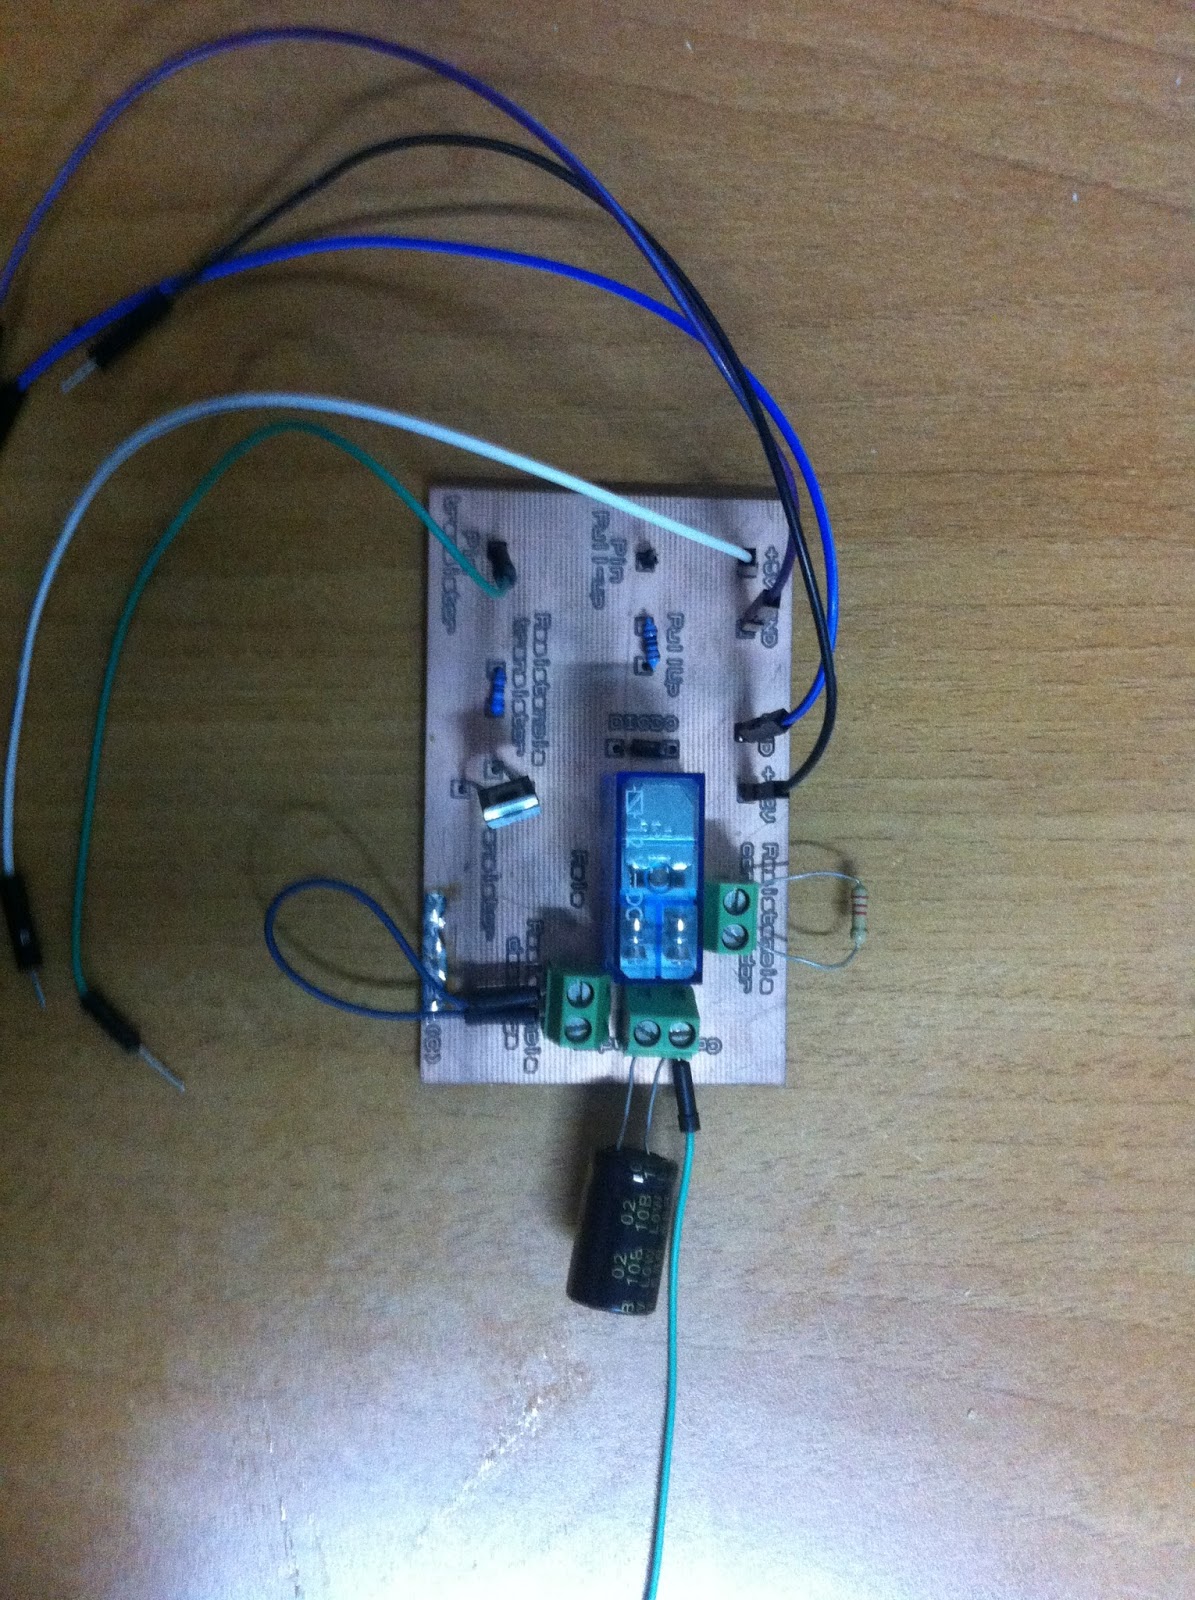
This is the result

Labview program
For this practice we perform a calculation for the load time of our condenser and then to test them with the program we will do in Labview.
A time made calculations proceed to make the calculations SubVI load
Condenser.


We proceed to make the freight SubVI
Condenser.


We proceed to perform the discharge SubVI
Condenser.


SubVI of time calculations


Now we proceed to implement the program using LabVIEW subVI previously created.


Explain briefly how the program works
Once the program started introduce the values of either time or instant v and selecting the loading lever see the calculated values and the graph will show us the loading ramp capacitor. The values shown in the display and graphics coincide with our previous calculations.
Both voltage and the capacitance or resistance value will be measured with a precision of Fluke brand.


